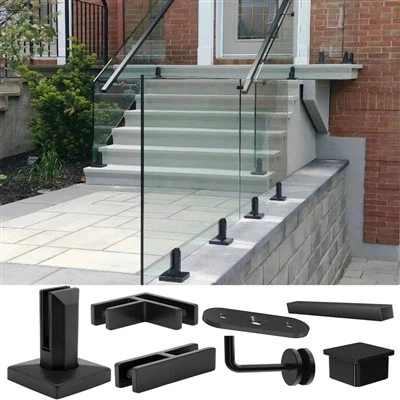
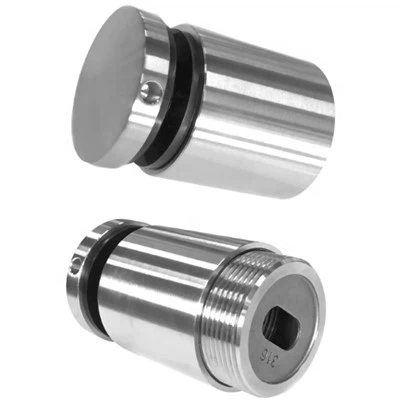
Hey there! If you're looking to spruce up your spiral balcony, installing a glass stair railing can be a game - changer. I'm a supplier of glass stair railings, and I've seen firsthand how a well - installed glass railing can transform the look and feel of a space. In this blog, I'll walk you through the steps of installing a glass stair railing on a spiral balcony.
Step 1: Planning and Measuring
Before you start any installation, you've got to plan it out. First off, take a good look at your spiral balcony. Note down the height, the length of the railing path, and the overall shape of the spiral. You need to make sure the glass railing you choose will fit properly.
Measure the height from the floor of the balcony to where you want the top of the railing to be. Usually, building codes require a minimum height of 36 inches, but it's always a good idea to check your local regulations. Also, measure the length of the railing run along the spiral. This can be a bit tricky because of the curve, so take your time and use a flexible measuring tape.
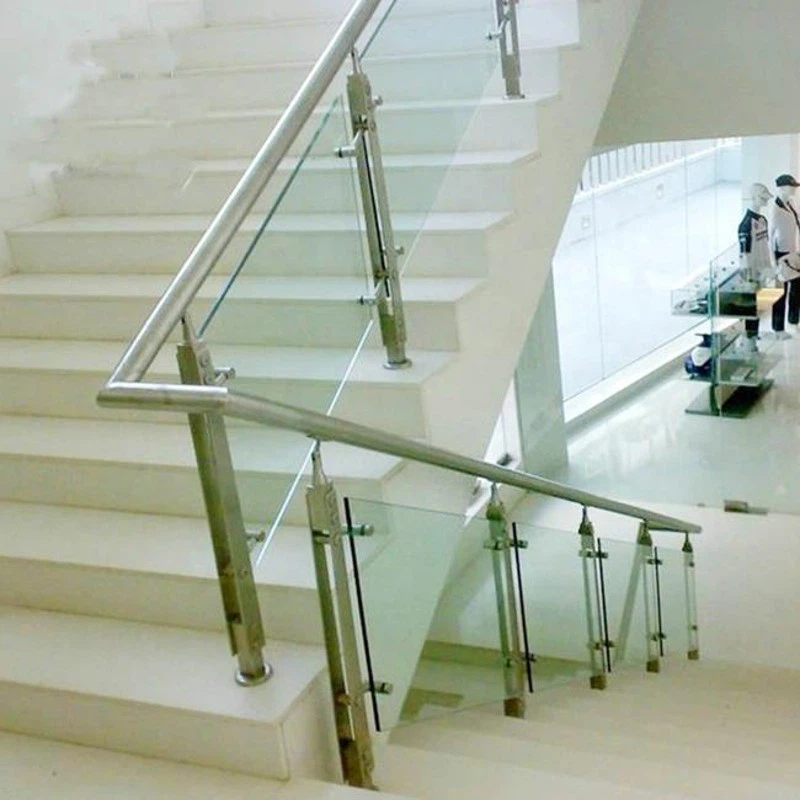
Once you have your measurements, it's time to choose the right type of glass railing. You can check out our Indoor Glass Stair Railing options. We offer a variety of styles and thicknesses to suit different needs.
Step 2: Gathering Tools and Materials
Now that you've got your measurements and have chosen the railing, it's time to gather your tools and materials. Here's what you'll need:
- Glass panels: Make sure they're the right size and thickness. We recommend Tempered Glass Stair Railing for its strength and safety.
- Mounting brackets: These are used to attach the glass to the balcony.
- Screws and bolts: Choose the right size and type for your brackets and balcony structure.
- Drill: You'll need a good drill to make holes for the brackets.
- Level: To ensure the railing is straight and level.
- Measuring tape: You'll use this again to double - check your measurements during installation.
- Safety equipment: Gloves, safety glasses, and a hard hat are a must.
Step 3: Preparing the Balcony
Before you start installing the brackets, you need to prepare the balcony. Clean the surface where the brackets will be attached. Remove any dirt, dust, or debris. If there are any rough spots, sand them down to ensure a smooth surface.
Mark the locations for the mounting brackets. Use your measurements to place the brackets evenly along the spiral. Make sure the marks are straight and level. You can use a chalk line or a laser level to help with this.
Step 4: Installing the Mounting Brackets
Once you've marked the locations, it's time to install the mounting brackets. Drill holes at the marked spots. Make sure the holes are the right size for the screws or bolts you're using. Insert the screws or bolts into the holes and attach the brackets to the balcony.
Use a level to check that the brackets are straight and level. Tighten the screws or bolts securely, but don't over - tighten them as this could damage the balcony or the brackets.
Step 5: Installing the Glass Panels
Now comes the fun part - installing the glass panels. Lift the glass panels carefully and place them into the mounting brackets. Make sure the panels are centered and aligned properly. You may need an extra pair of hands to help with this, especially if the glass panels are large.
Once the glass panels are in place, secure them to the brackets using the appropriate hardware. This could be clips, clamps, or other fasteners. Check again to make sure the glass is level and straight.
Step 6: Finishing Touches
After the glass panels are installed, it's time for the finishing touches. Check all the connections to make sure they're tight and secure. Wipe down the glass panels to remove any fingerprints or smudges.
You can also add some decorative elements if you want. For example, you can choose Glass Balusters for Stairs to add a unique look to your railing.
Step 7: Safety Check
Before you start using the balcony, do a thorough safety check. Make sure the glass panels are firmly attached and there are no loose connections. Try to shake the railing gently to see if there's any movement. If there is, tighten the connections or make any necessary adjustments.
Check the glass for any cracks or chips. If you find any, replace the glass immediately. Safety should always be your top priority.
Conclusion
Installing a glass stair railing on a spiral balcony can be a challenging but rewarding project. It can add a touch of elegance and modernity to your home. If you have any questions or need help choosing the right glass railing for your spiral balcony, don't hesitate to reach out. We're here to assist you with all your glass railing needs. Whether you're a DIY enthusiast or a professional contractor, we've got the products and expertise to make your project a success. Contact us to start the procurement process and let's work together to create the perfect glass stair railing for your spiral balcony.

References
- General building codes and regulations for stair railings.
- Manufacturer's instructions for glass panels and mounting brackets.