Hey there! As a supplier of glass spigots, I've seen my fair share of leaky situations. It's a common headache for many, but don't worry – I'm here to share some tips on how to seal a glass spigot to prevent those pesky leaks.
First off, let's talk about why leaks happen in the first place. There are a few reasons. Maybe the spigot wasn't installed correctly, or the sealant used was of poor quality. Sometimes, normal wear and tear over time can also cause the seal to break down. Understanding the root cause is key to finding the right solution.
Gathering the Right Tools
Before you start the sealing process, you'll need to gather the right tools. You'll need a good-quality sealant. There are different types out there, like silicone and epoxy. Silicone is flexible and great for areas that might experience some movement, while epoxy is more rigid and offers a strong bond. I'd recommend doing a bit of research to figure out which one is best for your specific glass spigot. You'll also need a caulking gun to apply the sealant smoothly. And don't forget some cleaning supplies, like a cloth and some glass cleaner, to make sure the area is clean before you start sealing.
Preparing the Glass Spigot
The first step in sealing your glass spigot is to prepare the area. Start by cleaning the spigot and the surrounding glass thoroughly. Use the glass cleaner and the cloth to remove any dirt, dust, or grease. This is really important because if there's any debris on the surface, the sealant won't adhere properly. Once it's clean, dry it completely. You don't want any moisture interfering with the seal.

If there's any old sealant on the spigot, you'll need to remove it. You can use a putty knife or a scraper to carefully peel it off. Be gentle so you don't damage the glass or the spigot. After removing the old sealant, clean the area again to get rid of any residue.
Applying the Sealant
Now it's time to apply the sealant. Load the sealant into the caulking gun. Cut the tip of the sealant tube at a 45-degree angle. The size of the opening will depend on how big the gap you're sealing is. A smaller gap will need a smaller opening, and a larger gap will need a bigger one.
Start applying the sealant along the edge of the spigot where it meets the glass. Move the caulking gun slowly and steadily, keeping a consistent pressure. Try to apply a continuous bead of sealant. If you stop and start, you might end up with uneven coverage. Make sure the sealant fills the gap completely. You can use a tool, like a putty knife or your finger, to smooth out the sealant and make it look neat. Just be careful not to get any on your clothes or the surrounding area.
Letting the Sealant Cure
After you've applied the sealant, you need to let it cure. The curing time will depend on the type of sealant you used. Check the instructions on the sealant tube for the specific curing time. During this time, try to avoid touching the sealant or putting any stress on the spigot. It's best to let it dry undisturbed.
Once the sealant is fully cured, you can check the seal. Look for any gaps or areas where the sealant might not have adhered properly. If you find any, you can apply a little more sealant and let it cure again.
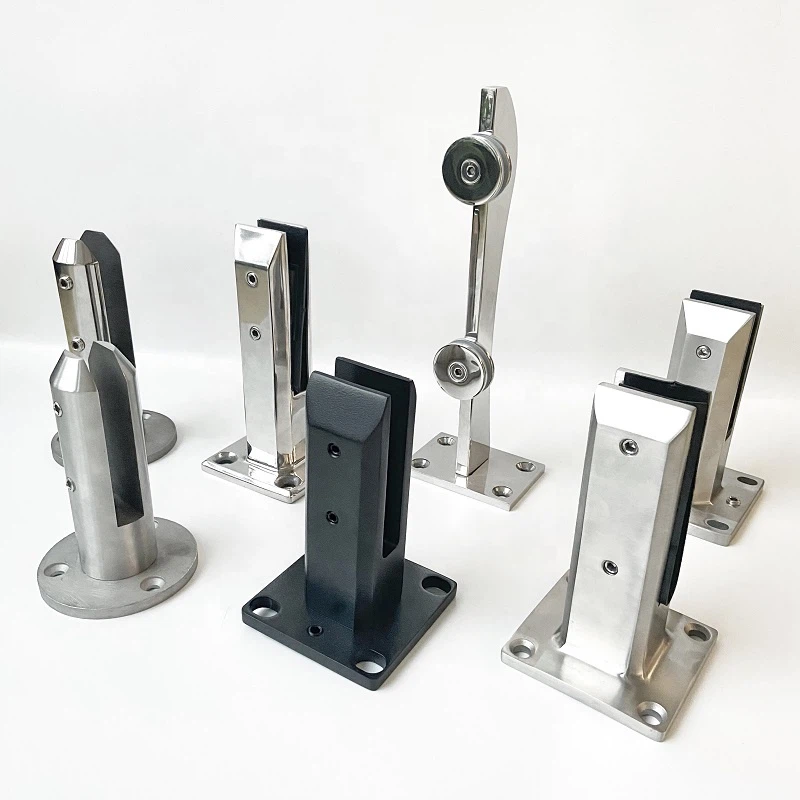
Choosing the Right Glass Spigot
Of course, preventing leaks starts with choosing the right glass spigot in the first place. At our company, we offer a wide range of high-quality glass spigots. You can check out our Spigot For Glass, Glass Balustrade Spigots, and Spigot Glass Railing System. These spigots are designed to be durable and easy to install, which can go a long way in preventing leaks.
Regular Maintenance
Even after you've sealed your glass spigot, it's important to do regular maintenance. Check the seal periodically to make sure it's still intact. If you notice any signs of wear or damage, like cracks or gaps in the sealant, you can reapply the sealant as needed. Also, keep the glass spigot clean. Regular cleaning can help prevent dirt and debris from building up and causing problems.
Troubleshooting
If you've followed all these steps and you're still having leaks, there might be a more serious issue. It could be that the spigot itself is damaged or not compatible with the glass. In this case, it might be a good idea to consult a professional. They can take a look at the spigot and figure out what's going wrong.
Conclusion
Sealing a glass spigot to prevent leaks isn't too difficult if you follow the right steps. By preparing the area properly, choosing the right sealant, and applying it correctly, you can create a strong, long-lasting seal. And remember, choosing a high-quality glass spigot from a reliable supplier, like us, can make a big difference.
If you're in the market for glass spigots or have any questions about sealing them, feel free to reach out. We're here to help you find the best solutions for your needs. Whether you're a DIY enthusiast or a professional contractor, we've got the products and expertise to support you. So don't hesitate to get in touch and start your project with confidence!
References
- General knowledge and experience in the glass spigot industry.
- Manufacturer's instructions for sealants and glass spigots.


